Using Bootswatch themes
Tip submitted by @deepu105
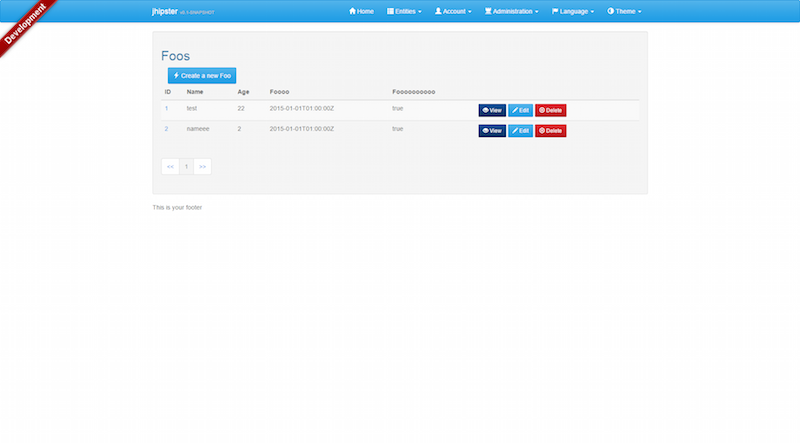
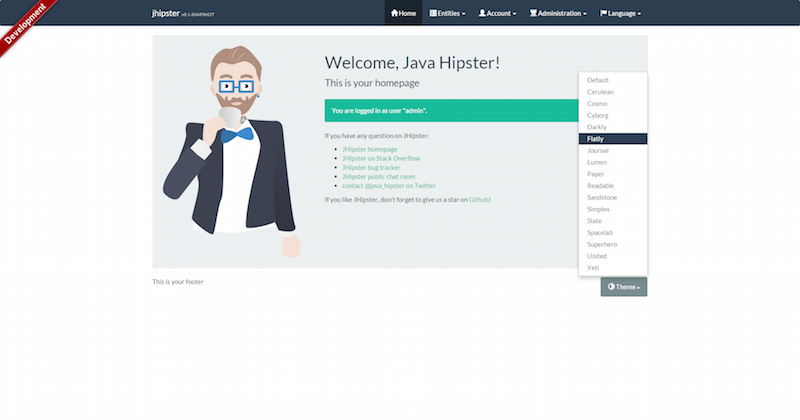
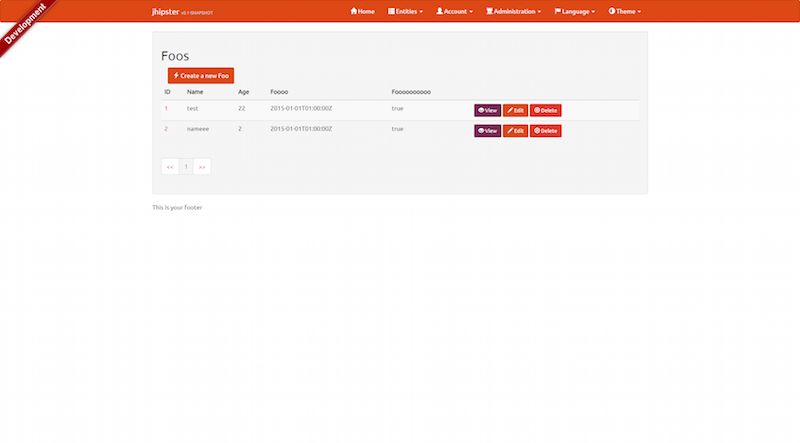
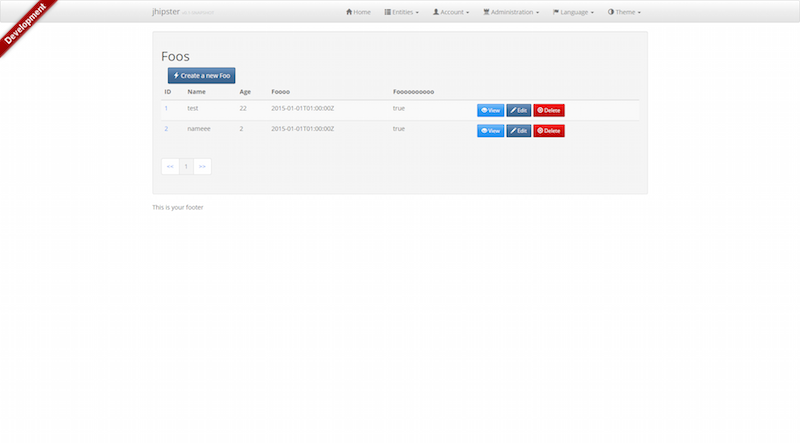
Using Bootswatch themes with theme switcher
This is now available as a JHipster module requires JHipster version greater than 2.26.2
To have Bootswatch themes instead of the default theme you just need to override the bootstrap css with the css from bootswatch theme. However if you want a cool theme switcher to switch between Bootswatch themes dynamically then follow this tip.
Make the following changes in the generated app.
Note: replace 'yourApp' with the generated name of your application.
Add Files
Add the below service as bootswatch.service.js under webapp/app/components/bootswatch
'use strict';

angular.module('yourApp')
  .factory('BootSwatchService', function ($http) {
    return {
      get: function() {
        return $http.get('http://bootswatch.com/api/3.json').then(function (response) {
          return response.data.themes;
        });
      }
    };
  });
Add the below directive as bootswatch.directive.js under webapp/app/components/bootswatch
'use strict';

angular.module('yourApp')
  .directive('jhSwitchTheme', function() {
    /*Directive binds to anchor to update the bootswatch theme selected*/
    return {
      restrict: 'A',
      scope: {
        theme : '=jhSwitchTheme'
      },
      link: function (scope, element, attrs) {
        var currentTheme = $("#bootswatch-css").attr('title');
        if(scope.theme.name === currentTheme){
          element.parent().addClass("active");
        }

        element.on('click',function(){
          $("#bootswatch-css").attr("href", scope.theme.css);
          $(".theme-link").removeClass("active");
          element.parent().addClass("active");
        });
      }
    };
  });
Add the below controller as bootswatch.controller.js under webapp/app/components/bootswatch
'use strict';

angular.module('yourApp')
  .controller('BootswatchController', function ($scope, BootSwatchService) {
    /*Get the list of availabel bootswatch themes*/
    BootSwatchService.get().then(function(themes) {
      $scope.themes = themes;
      $scope.themes.unshift({name:'Default',css:''});
    });
  });
index.html
Add the below to the index.html file after the CSS vendor.css build task so that these are not minified and compacted by build task
<!-- build:css content/css/vendor.css -->

...

<!-- endbuild -->
<!-- placeholder link to load bootswatch themes, title holds the current applied theme name-->
<link rel="stylesheet" href="" id="bootswatch-css" title="Default">
<!-- build:css assets/styles/main.css -->

...

<!-- endbuild -->
Add the below in footer
<div class="footer">
  <p translate="footer" class="pull-left">This is your footer</p>
  <div ng-controller="BootswatchController" class="dropup pull-right">
      <a class="btn btn-default dropdown-toggle" data-toggle="dropdown">
        <span class="glyphicon glyphicon-adjust"></span>
        <span class="hidden-tablet" translate="global.menu.theme">Theme</span>
        <b class="caret"></b>
      </a>
      <ul class="dropdown-menu" role="menu">
        <li class="theme-link" ng-repeat="theme in themes">
          {% raw %}
          <a href="" jh-switch-theme="theme">{{theme.name}}</a>
          {% endraw %}
        </li>
    </ul>
  </div>
</div>
Add script tags in your index.html file manually if 'gulp inject' fails and you receive angular errors
<!-- build:js({.tmp,src/main/webapp}) scripts/app.js -->

...

<script src="scripts/components/util/bootswatch.controller.js"></script>
<script src="scripts/components/util/bootswatch.directive.js"></script>
<script src="scripts/components/util/bootswatch.service.js"></script>
app.js (only for oAuth/xAuth)
Add exclusion to the bootswatch url in authInterceptor in app/blocks/interceptor/auth.interceptor.js if you are using OAuth or XAuth
.factory('authInterceptor', function ($rootScope, $q, $location, localStorageService) {
  return {
    // Add authorization token to headers
    request: function (config) {
      config.headers = config.headers || {};
      // exclude bootswatch url
      if(config.url.indexOf('api.bootswatch.com') === -1) {
        var token = localStorageService.get('token');
        ....
      }
      return config;
    }
  }
});
Screenshots