Internationalization
Introduction
During the generation of a new project you will be asked whether or not you want to enable internationalization support.
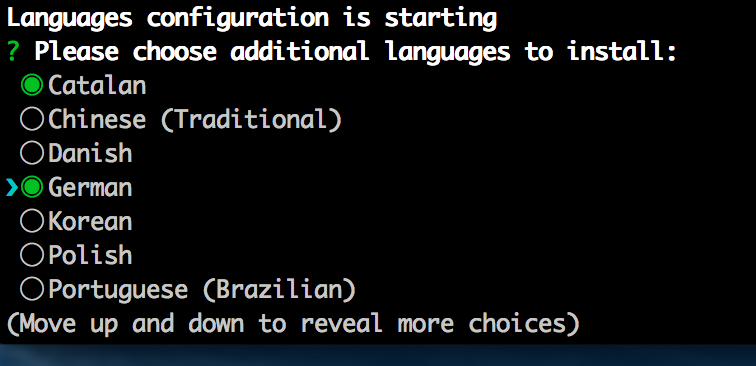
If enabling it you will need to select the native language of your application. After that you can choose the additional languages you would like to install. If you don’t want to support any additional languages from start you can always add languages later when needed by running the language sub-generator.
If you are sure you will never translate this application into another language you should not enable the internationalization.
Supported languages
These are the currently supported languages
- Catalan
- Chinese (Simplified)
- Chinese (Traditional)
- Danish
- Galician
- German
- Greek
- Hindi
- Italian
- Japanese
- Hindi
- Hungarian
- Korean
- Marathi
- Netherlands
- Polish
- Portuguese
- Portuguese (Brazilian)
- Russian
- Romanian
- Spanish
- Swedish
- Tamil
- Turkish
Your language is missing in JHipster? Help us improve the project with a PR!
How to add languages after project generation?
To do this you can run the languages sub-generator with:
yo jhipster:languages

Note that you will need to regenerate your entities if you would like to have them translated in the language you just added.
How to add a new language that is not supported?
All languages are saved in the folder src/main/webapp/i18n (client side) and src/main/resources/i18n (server side)
Here are the steps to install a new language called new_lang:
- Duplicate the
src/main/webapp/i18/enfolder tosrc/main/webapp/i18/new_lang(this is where all the front-end translations are stored) - Translate all files under the folder
src/main/webapp/i18/new_lang -
Add the languege code
new_langto theLANGUAGESconstant defined insrc/main/webapp/app/components/language/language.constants.js.constant('LANGUAGES', [ 'en', 'fr', 'new_lang' // jhipster-needle-i18n-language-constant - JHipster will add/remove languages in this array ] - In the
src/main/resources/i18nfolder, copy themessages_en.propertiesfile tomessages_new_lang.properties(this is where the server-side translations are stored) - Translate all keys in the
messages_new_lang.propertiesfile -
Add the new language’s name in the function of
filter('findLanguageFromKey')in thesrc/main/webapp/app/components/language/language.filter.jsfilefunction findLanguageFromKeyFilter(lang) { return { 'ca': 'Català', 'da': 'Dansk', 'de': 'Deutsch', 'el': 'Ελληνικά', 'en': 'English', 'es': 'Español', 'fr': 'Français', 'gl': 'Galego', 'hu': 'Magyar', 'hi': 'हिंदी', 'it': 'Italiano', 'ja': '日本語', 'ko': '한국어', 'mr': 'मराठी', 'nl': 'Nederlands', 'pl': 'Polski', 'pt-br': 'Português (Brasil)', 'pt-pt': 'Português', 'ro': 'Română', 'ru': 'Русский', 'sv': 'Svenska', 'ta': 'தமிழ்', 'tr': 'Türkçe', 'zh-cn': '中文(简体)', 'zh-tw': '繁體中文' }[lang]; }
The new language new_lang is now available in the language menu, and it is available both in the front-end AngularJS application and in the back-end Spring application.
How to remove an existing language?
Here are the steps to remove a language called old_lang:
- Remove the language folder from
src/main/webapp/i18/old_lang - Remove the constant entry in
src/main/webapp/app/components/language/language.constants.js - Remove the
src/main/resources/i18n/messages_old_lang.propertiesfile